Diskling runs on macOS 14 Sonoma or later, on Apple silicon and Intel Macs. You don’t need an account, and nothing about your files leaves your Mac.
Install it
- Click Get Diskling for Mac on the home page or at the bottom of any page. You get a disk image named like
Diskling-1.0.0.dmg. - Open the file. A window shows Diskling and your Applications folder.
- Drag Diskling onto Applications.
- Open Diskling from Applications or Launchpad.
Diskling is notarized by Apple. The first time you open it, macOS asks whether you want to open an app downloaded from the internet. Click Open, and it won’t ask again.
The welcome screens
The first time you open Diskling, two short screens come up before anything else.
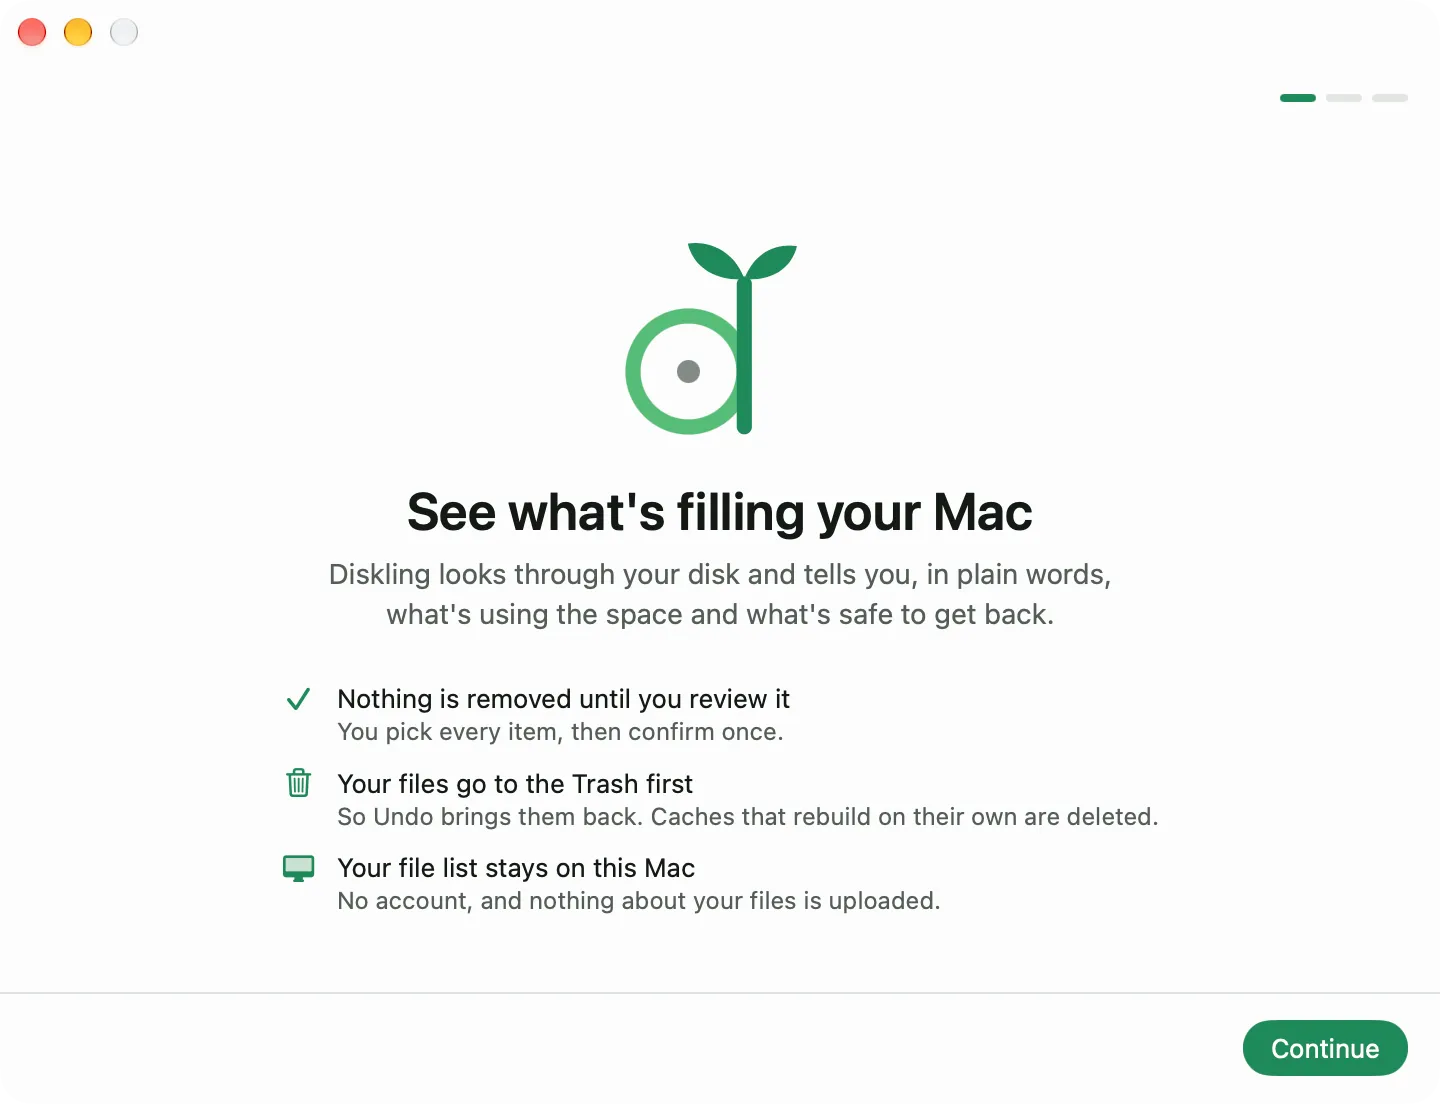
The first one explains how Diskling treats your files. You pick everything that goes, and you see the full list before anything happens. Your own files go to the Trash, so Undo can bring them back. Caches and build files that apps make again on their own are deleted for good, since keeping them in the Trash would only hold on to the space.
The second screen asks for Full Disk Access. Without it, macOS hides some folders from every app, like Mail, Messages, and other apps’ data, and Diskling can’t count them. Allow Full Disk Access explains what it’s for and how to turn it on. You can skip it and turn it on later.
Click Start Scan when you’re ready.
Your first scan
The first scan reads every folder on your startup disk once. On a Mac with Apple silicon it takes about 30 seconds for every 3 million files, so a Mac with years of projects and photos can take a minute or two. You can use the rest of the app while it runs.
After that, Diskling only reads what changed. Opening it again shows your numbers in under a second and brings them up to date in about a second more.
Read your results
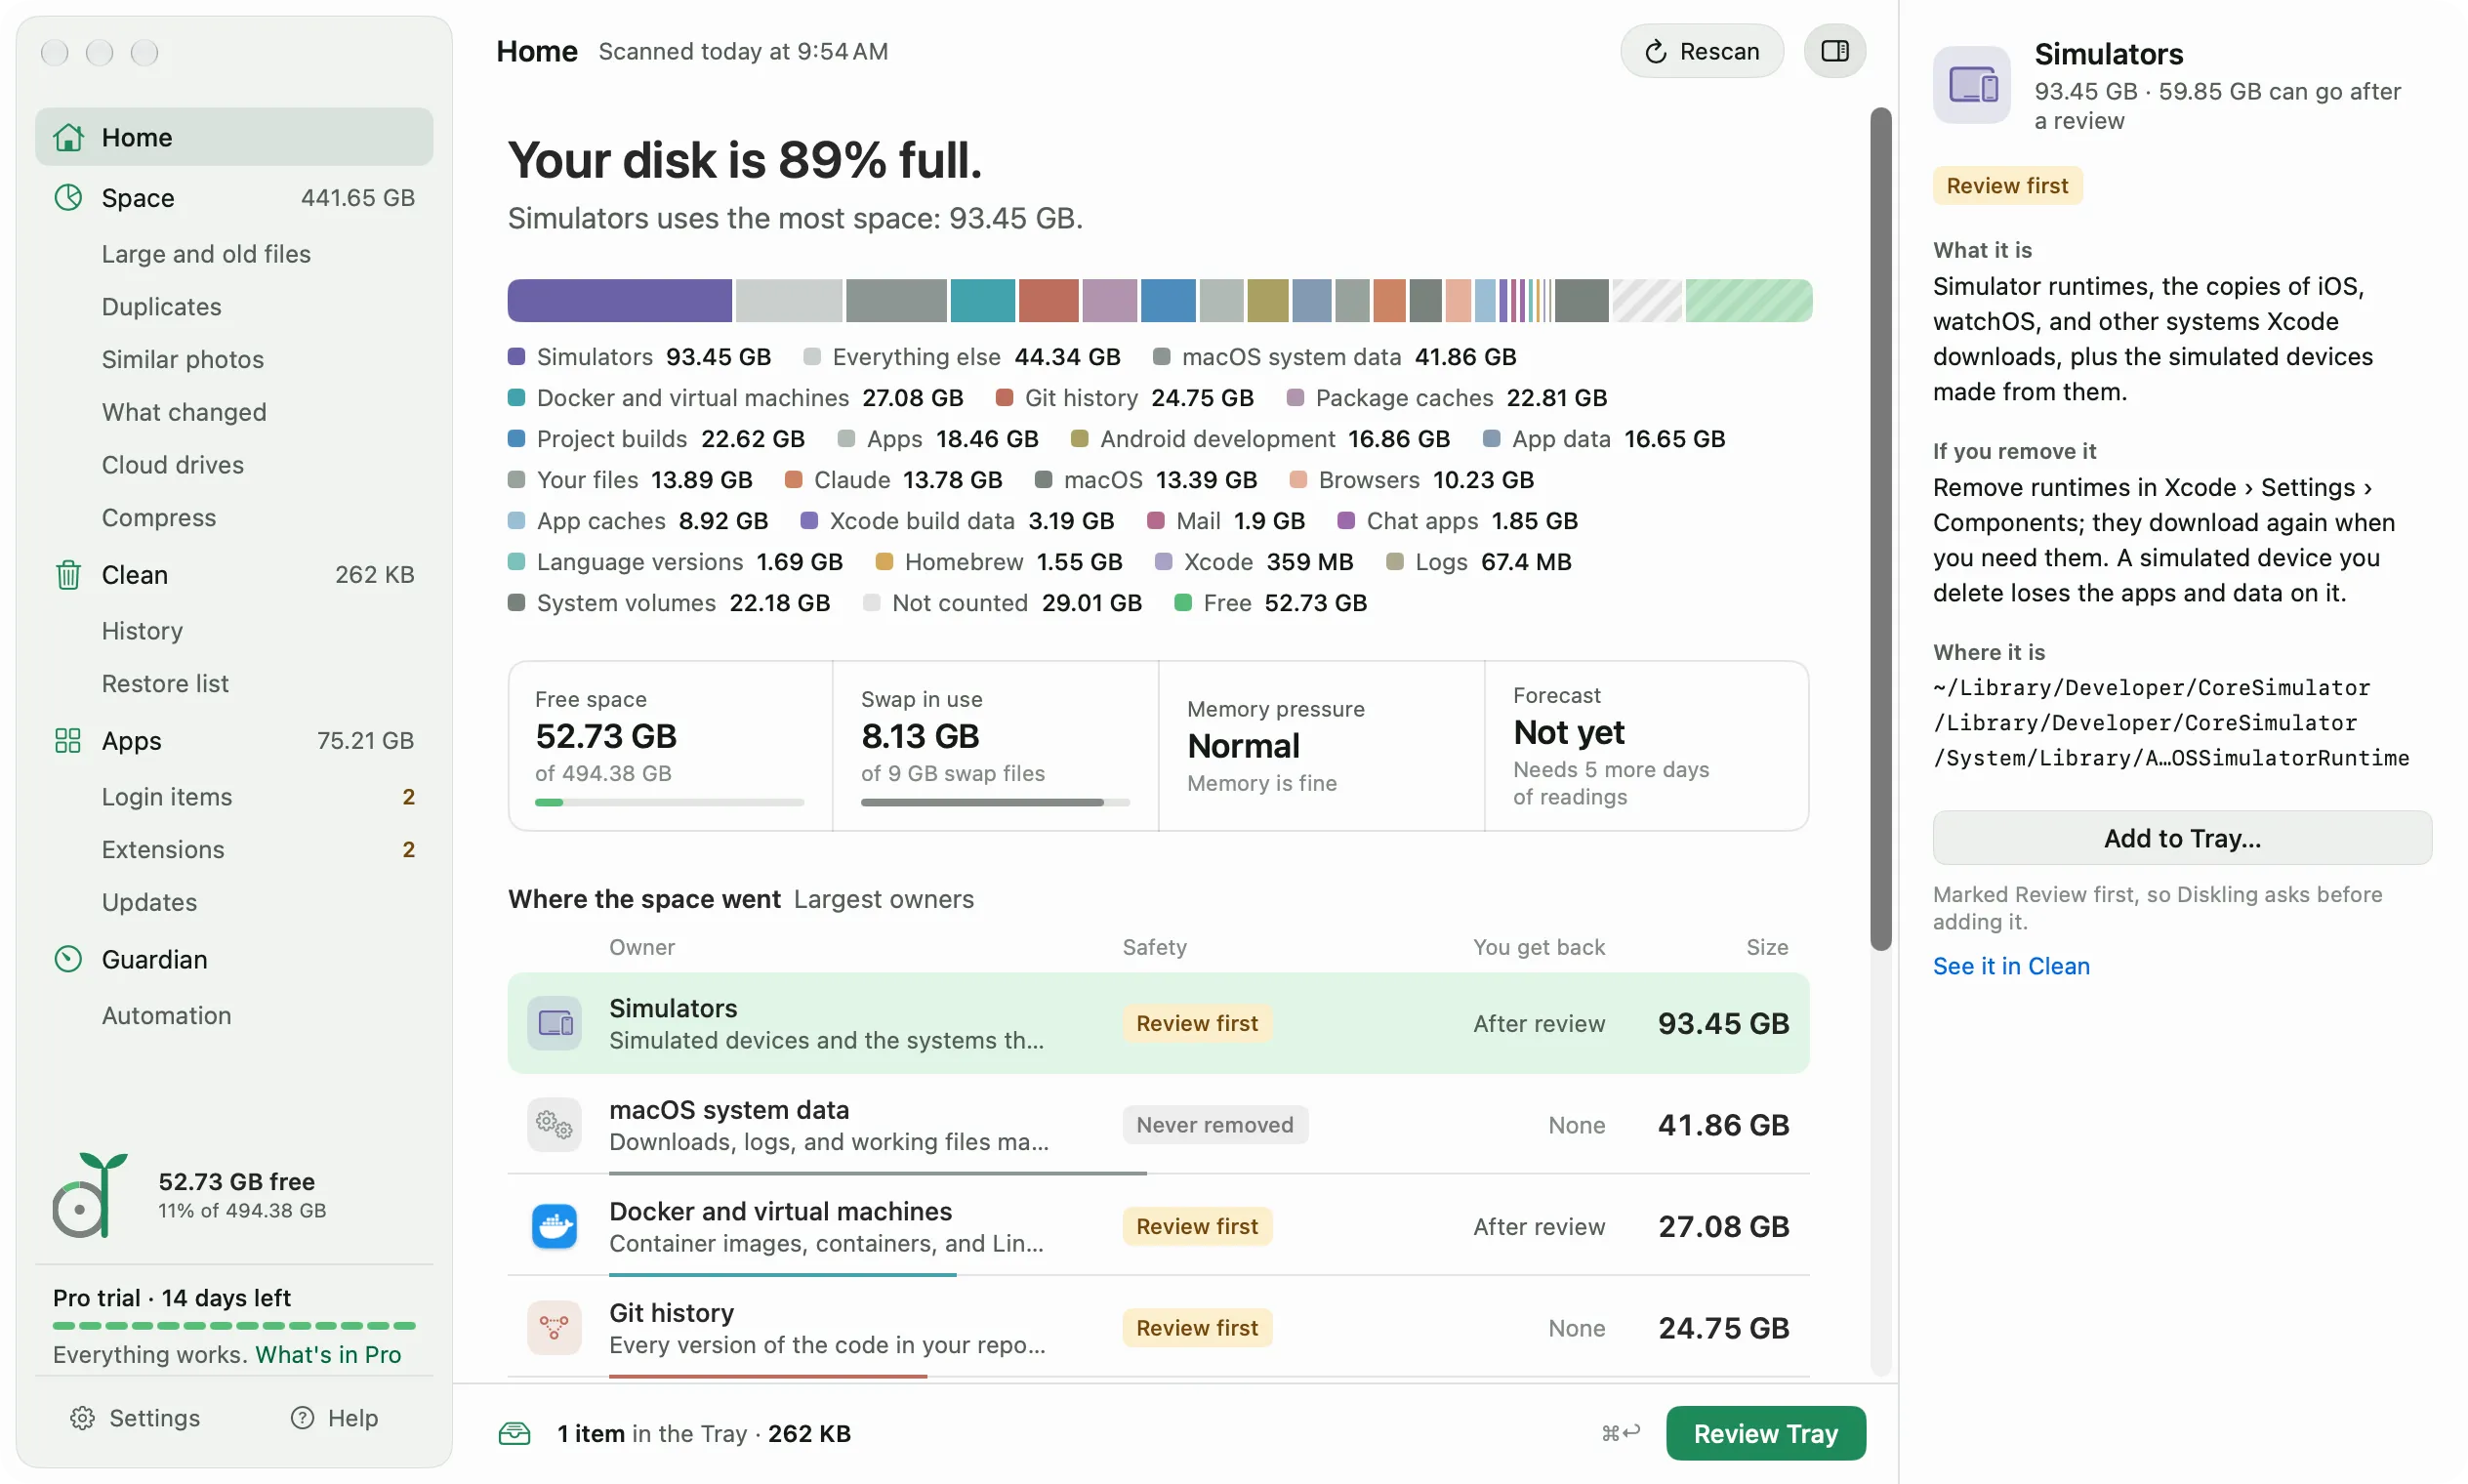
Home answers one question: what’s filling your disk. Across the top you see how full it is and what uses the most space. The bar splits your used space by owner, like Simulators, Docker, Photos, or macOS system data. An owner is whatever made the files, so you know who to ask before removing anything.
Under the bar, four cards show free space, swap in use, memory pressure, and the forecast. The forecast needs seven days of readings before it can say when your disk will be full.
Select any owner in the list to read about it on the right: what it is, what happens if you remove it, and exactly where it lives on disk. Each owner has a safety label too:
- Safe means apps make it again and nothing you made is inside.
- Rebuilds on next use means it comes back the next time you use that tool, at the cost of a slower first run.
- Review first means it can hold something you’d want, so Diskling never ticks it for you.
- Never removed means it belongs to macOS, and Diskling only explains it.
Two lines on Home can look odd at first. “macOS system data” is space macOS uses for itself, and Diskling explains it but never offers to remove it. “Not counted” is space Diskling couldn’t read, usually because Full Disk Access is off.
When you’re ready to get space back, go to Clean up space safely.